Disclosure: The links are affiliated links, meaning that I will earn a commission if you click through the links and make a purchase.
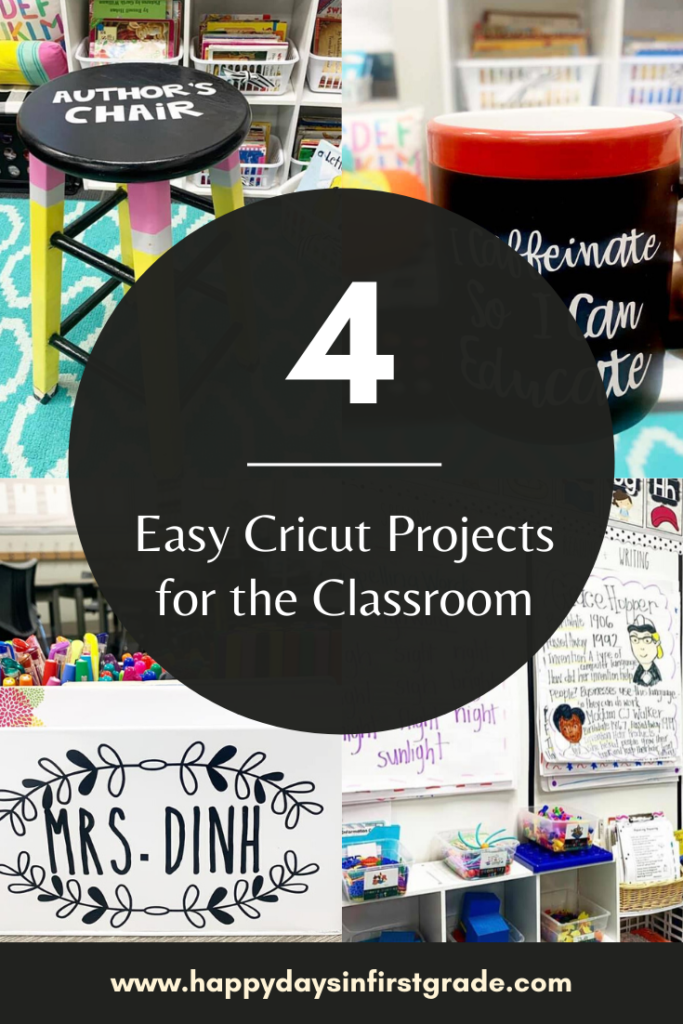
I have to admit. Since getting my own Explore Air 2 , I have been busy labeling all the things and creating all the things. Below are 4 easy projects that you can create for your own classroom, if you are just starting out!
1. Teacher Coffee Mug

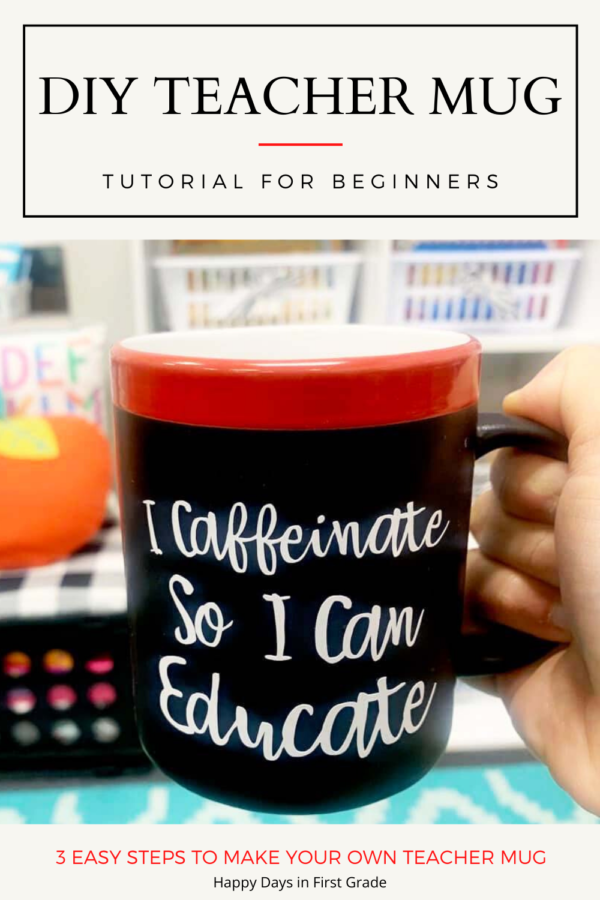
This was the very first project that I made with my Cricut! It was so easy to make, since all I needed was white vinyl. If you want to read the step-by-step instructions on how I made it, click to the image below for the entire tutorial!.
2. Author’s Chair
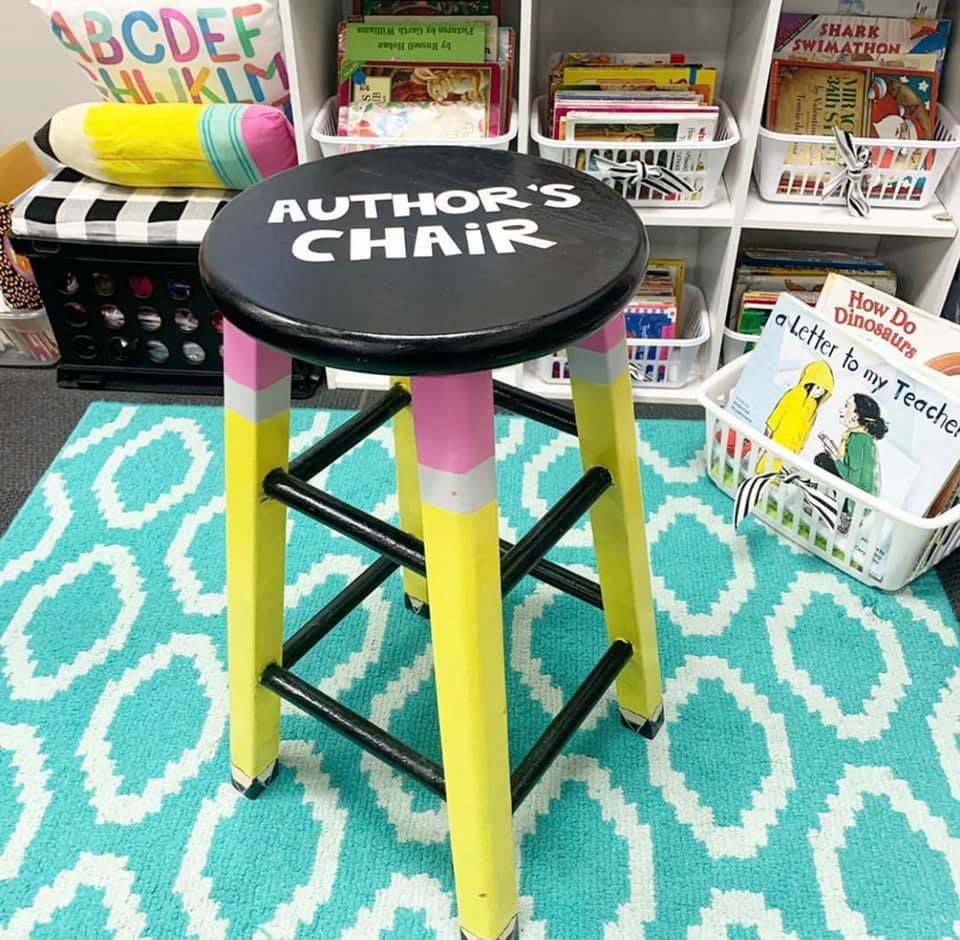
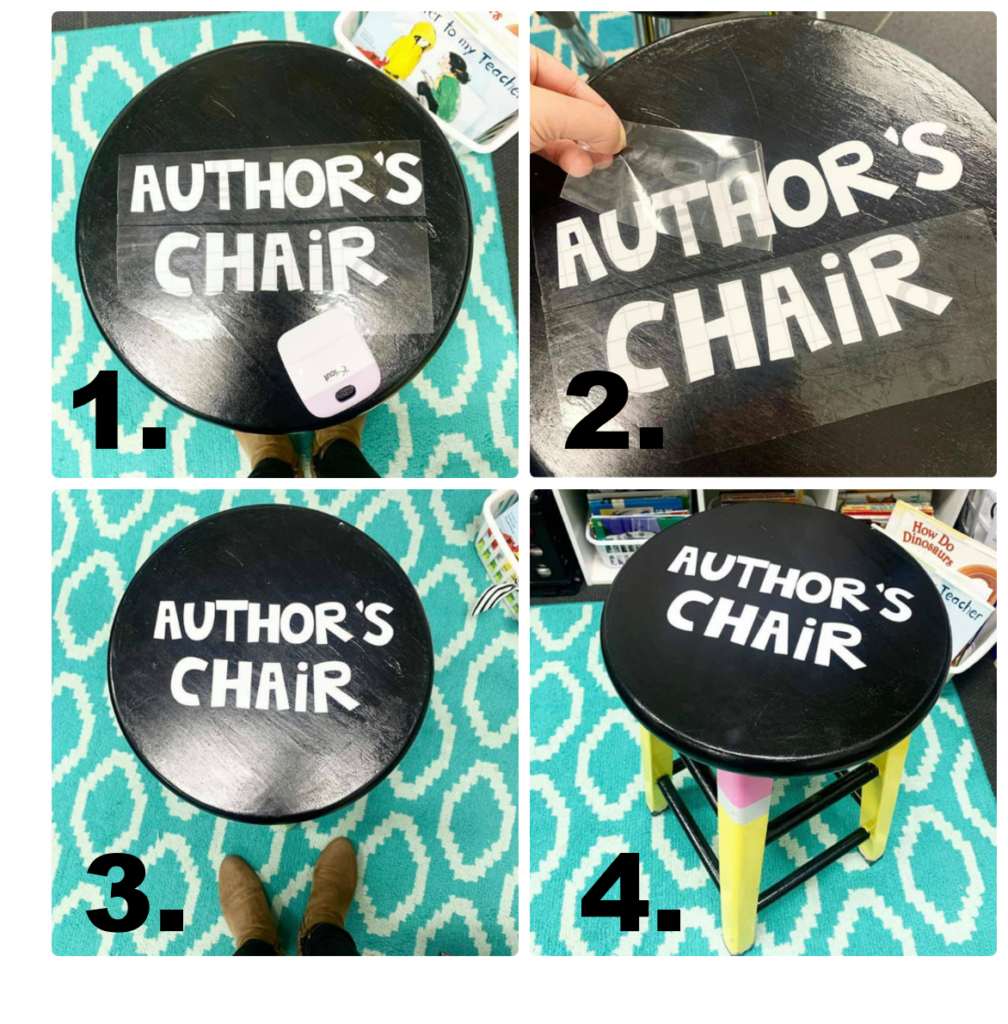
One of my favorite DIY projects is this pencil stool! Since I wanted my students to get really excited about writing, I designated this chair to being the Author’s Chair. Once their writing is published, the kids all have an opportunity to sit on this chair to read their writing. The kids absolutely love it and I am thrilled that this has been such a a great motivator for them to write their very best! If you want to make your own, click here to learn how to make your own pencil stool!
3. Personalized Supplies Caddy

Who doesn’t love their own personalized supplies caddy?! Everything I need to write notes and grade papers with is right here! This project was so fun and easy!
4. Subject Labels for Anchor Charts
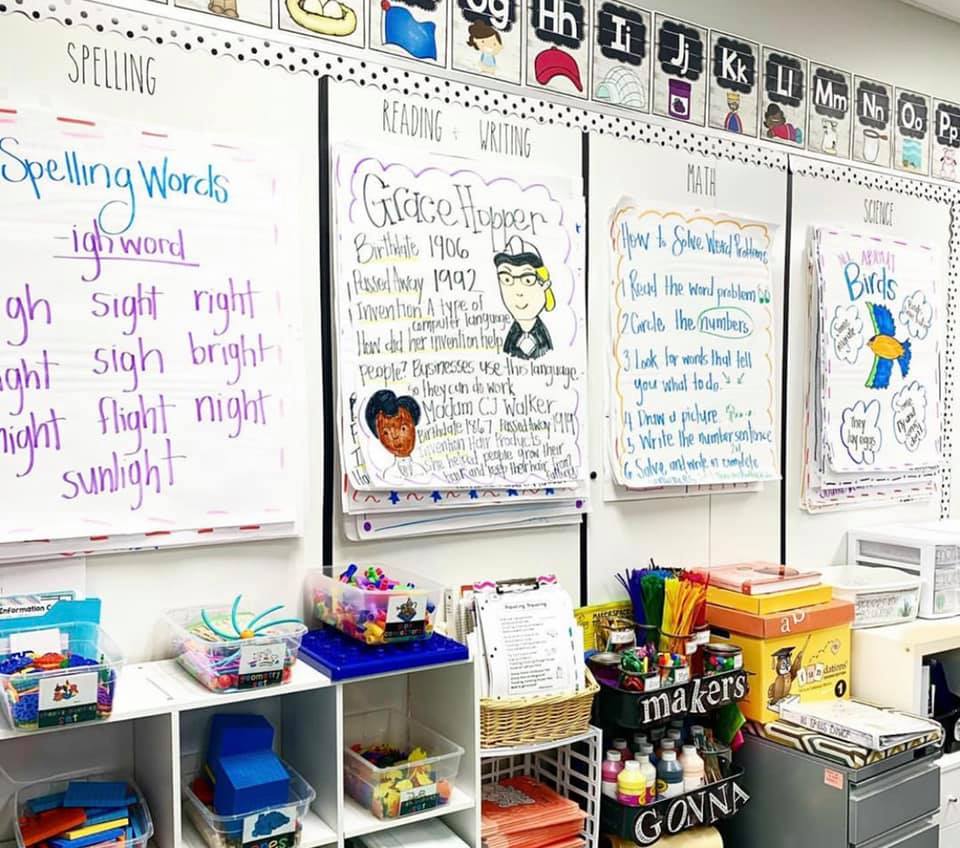
I love making anchor charts and my students love using to help them learn in the classroom! Using black vinyl to label the subjects, the labels make it so easy for my students to locate what they need!
I hope this gives you some ideas on how you can use Cricut in the classroom!
Happy Crafting!
