6 Steps to Make Your Own Pencil Stool

So I’m going to go ahead and blame this one on Nichole from The Craft of Teaching Blog for creating such an adorable pencil stool and…

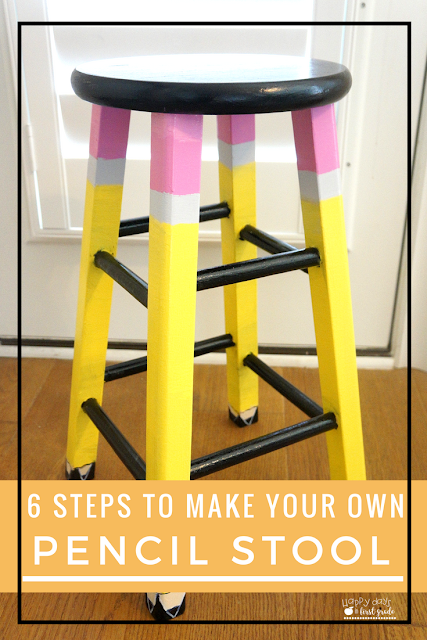
So I’m going to go ahead and blame this one on Nichole from The Craft of Teaching Blog for creating such an adorable pencil stool and posting it on her Instagram!  After seeing it, I knew I had to make one for my classroom!  So thank you, Nichole for such an amazing idea!!!
Below are 6 EASY steps that I took and the supplies that I used to make my own pencil stool, and you can too! 🙂
Click on the links in the post to purchase your own materials!
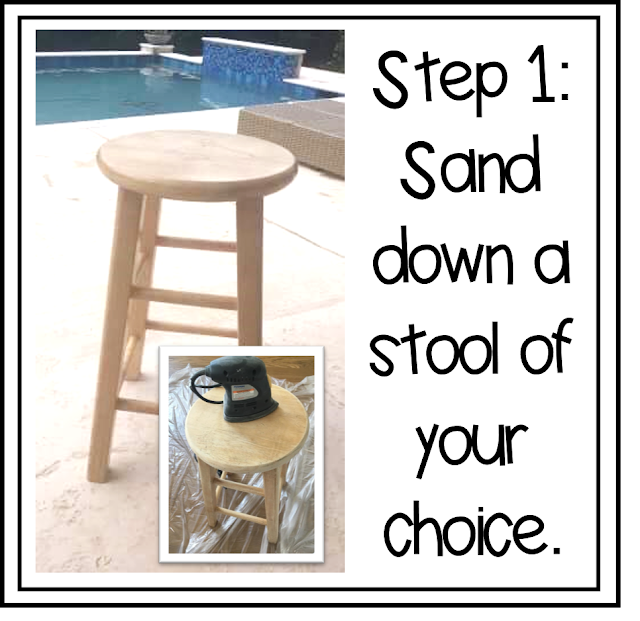
I used a 24′ wooden stool that I’ve had in my classroom for awhile.  It is just a plain stool that had a glossy finish on it.  Using an electric handheld sander, I sanded the stool down to the wood.

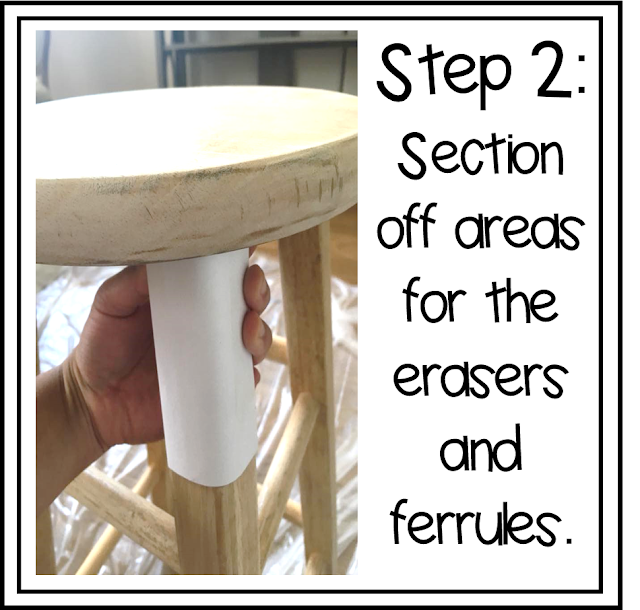
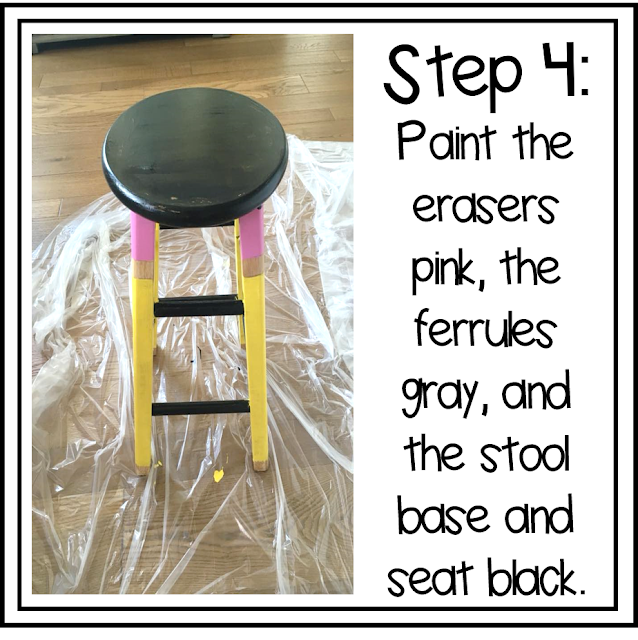
To create the different sections for the erasers, I used a large index card and folded it around the top section of each leg.  I then traced a line underneath with a pencil so I knew where to paint pink.

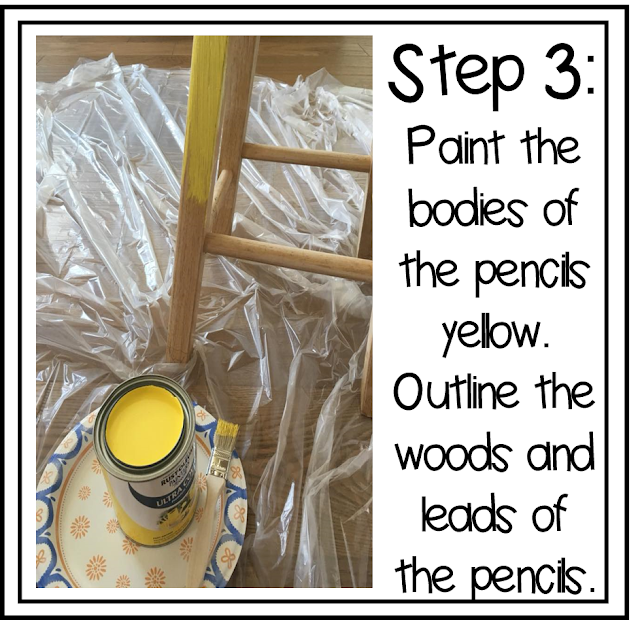
You can use any yellow paint and a small paintbrush from your home improvement store.  I bought a small bucket off the shelf that did not need mixing.

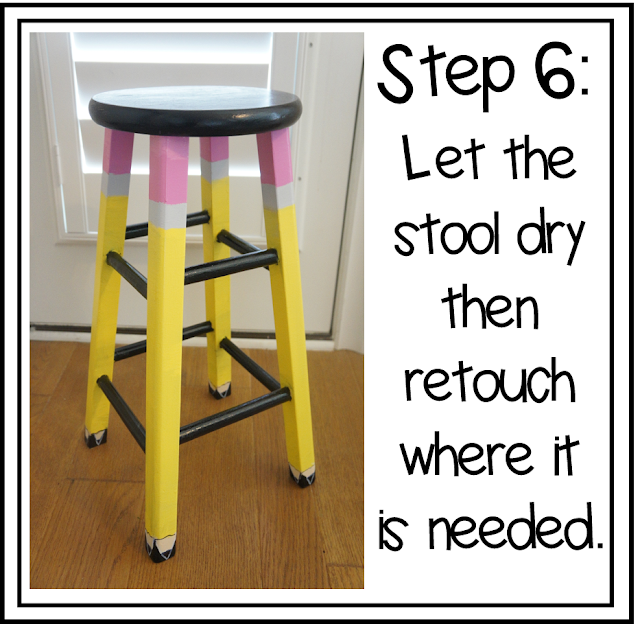
I measured an inch and traced all around each leg for the ferrules (metal part of the pencil).  You can use gray Duct Tape too.  Since I already have gray paint at home, I thought I would use paint instead.  TIP:  It’s OK if it’s not perfect!!!!  You can go back and retouch the imperfections later.  Repeat after me, I WILL NOT STRESS! 🙂

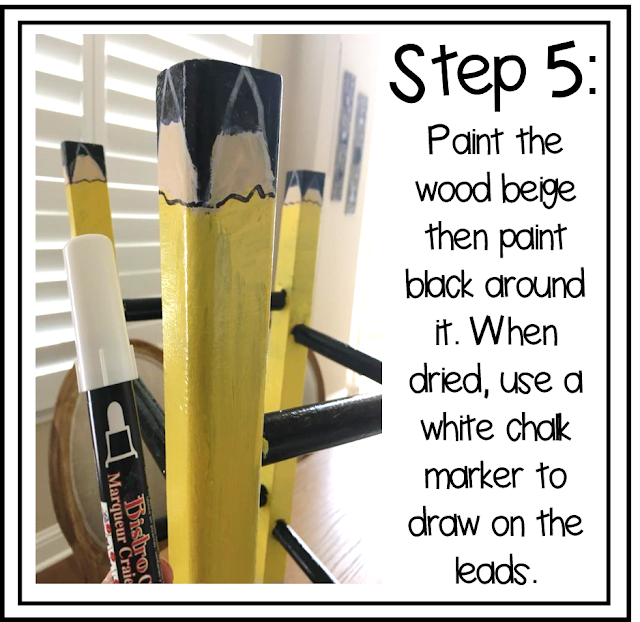
You can also use a black Sharpie to trace the edge of the wood areas of the pencils.  The chalk marker that I used is the Bistro Chalk Marker.

 
And TAH-DAH!!!!  An Author’s Chair just for your students to sit on to share their masterpieces when they are done!!!!
 
 
If you need some Back to School resources and classroom decoration ideas, check out the resources below!


Disclosure: Some of the links are affiliated links, meaning that I will earn a commission if you click through the links and make a purchase.


Leave a Reply

Your email address will not be published. Required fields are marked *